DIY Eraser-Pen
This was a midweek creation of mine that i thought i’d share.
Eraser-pens/pencils are an underestimated tool that tightens up your pencil draughtsmanship, helping with highlights, details or straightening out edges. They never seemed to be handed out in any art class I was in but they’ve been around for decades. The old Generals Eraser Pencils were an insanely smart and simple design, with a long tube of white rubber wrapped in perforated paper that you would slowly peel back by pulling on a cotton string that ran along the spine.
As sure as Tabasco, it seemed like a simple and timeless recipe for genius that would never vanish from the store shelves. Until it did….
Plastic clutch-pen inspired variants began to pop up in art stores with the rise of lets-make-a-cheap-plastic-version-of-everything craze. And so that’s what I use today, because it’s all that was available.
Still, it did the job just as well as its less evolved predecessor. Pictured second-from the right on the main pic is my trusty black-shelled eraser pencil with a roughly 4mm-diamete eraser tube in it. I’ve used this one for a few years now for all my sketches and was very happy with it, even though I imagine with great sorrow and regret a poor baby panda puking from the plastic runoff somewhere on the outskirts of Shenzhen. But I figured if it’s already been made then it can’t hurt more than it already has, unless you chuck it out and then the fishy eats it, followed by the dolphin that eats the fish. So try and keep it going as long as you can.
Alas, the day of terminus came, for it seems like the tube has finally run near the end so I went shopping for a replacement in the art store.
Wouldn’t ya know it, I could not find the exact same looking eraser tube that matched the tiny nib I had left.
The nearest thing I could find were this 25-pack of “refills” for some other brand, an electric eraser of some kind. But the size looked…. close enough… and for $6 I figured I couldn’t go wrong. I would make it work somehow even if I had to shove it in the barrel with brute force.
Well I did go wrong, as the diameter size of the refills was about a millimetre too big for the barrel of my eraser pen. And now the brute force was just not having it. As you all remember from your physics lessons: a force has to be met with a greater force in order to yield, and the rubbery soft end was no match for the stern impenetrable wall of plastic barel rim.
Now bear in mind the shops sell a whole new eraser pen for $15-$20. But these minor costs add up at the art store, especially when you have other needs in your life, like food, petrol, your gas bill etc. I figured there must be a way to make use of the refill-pack I just bought.
So I scoured the backroom and found a very old faber-castell marker with the ink long-ago dried out. Unusable in other words.
But at the end of the day, the faber-castell marker and the eraser clutch pen are the same thing: a plastic barrel to hold a tube of eraser.
So I cut the tip off the faber-castell marker with a pipe-cutter (you could use scissors or coping saw or whatever works for you). I lined up a fresh “refill” eraser nib to the tip of the marker to find the part where it would roughly match the eraser-refill tube.
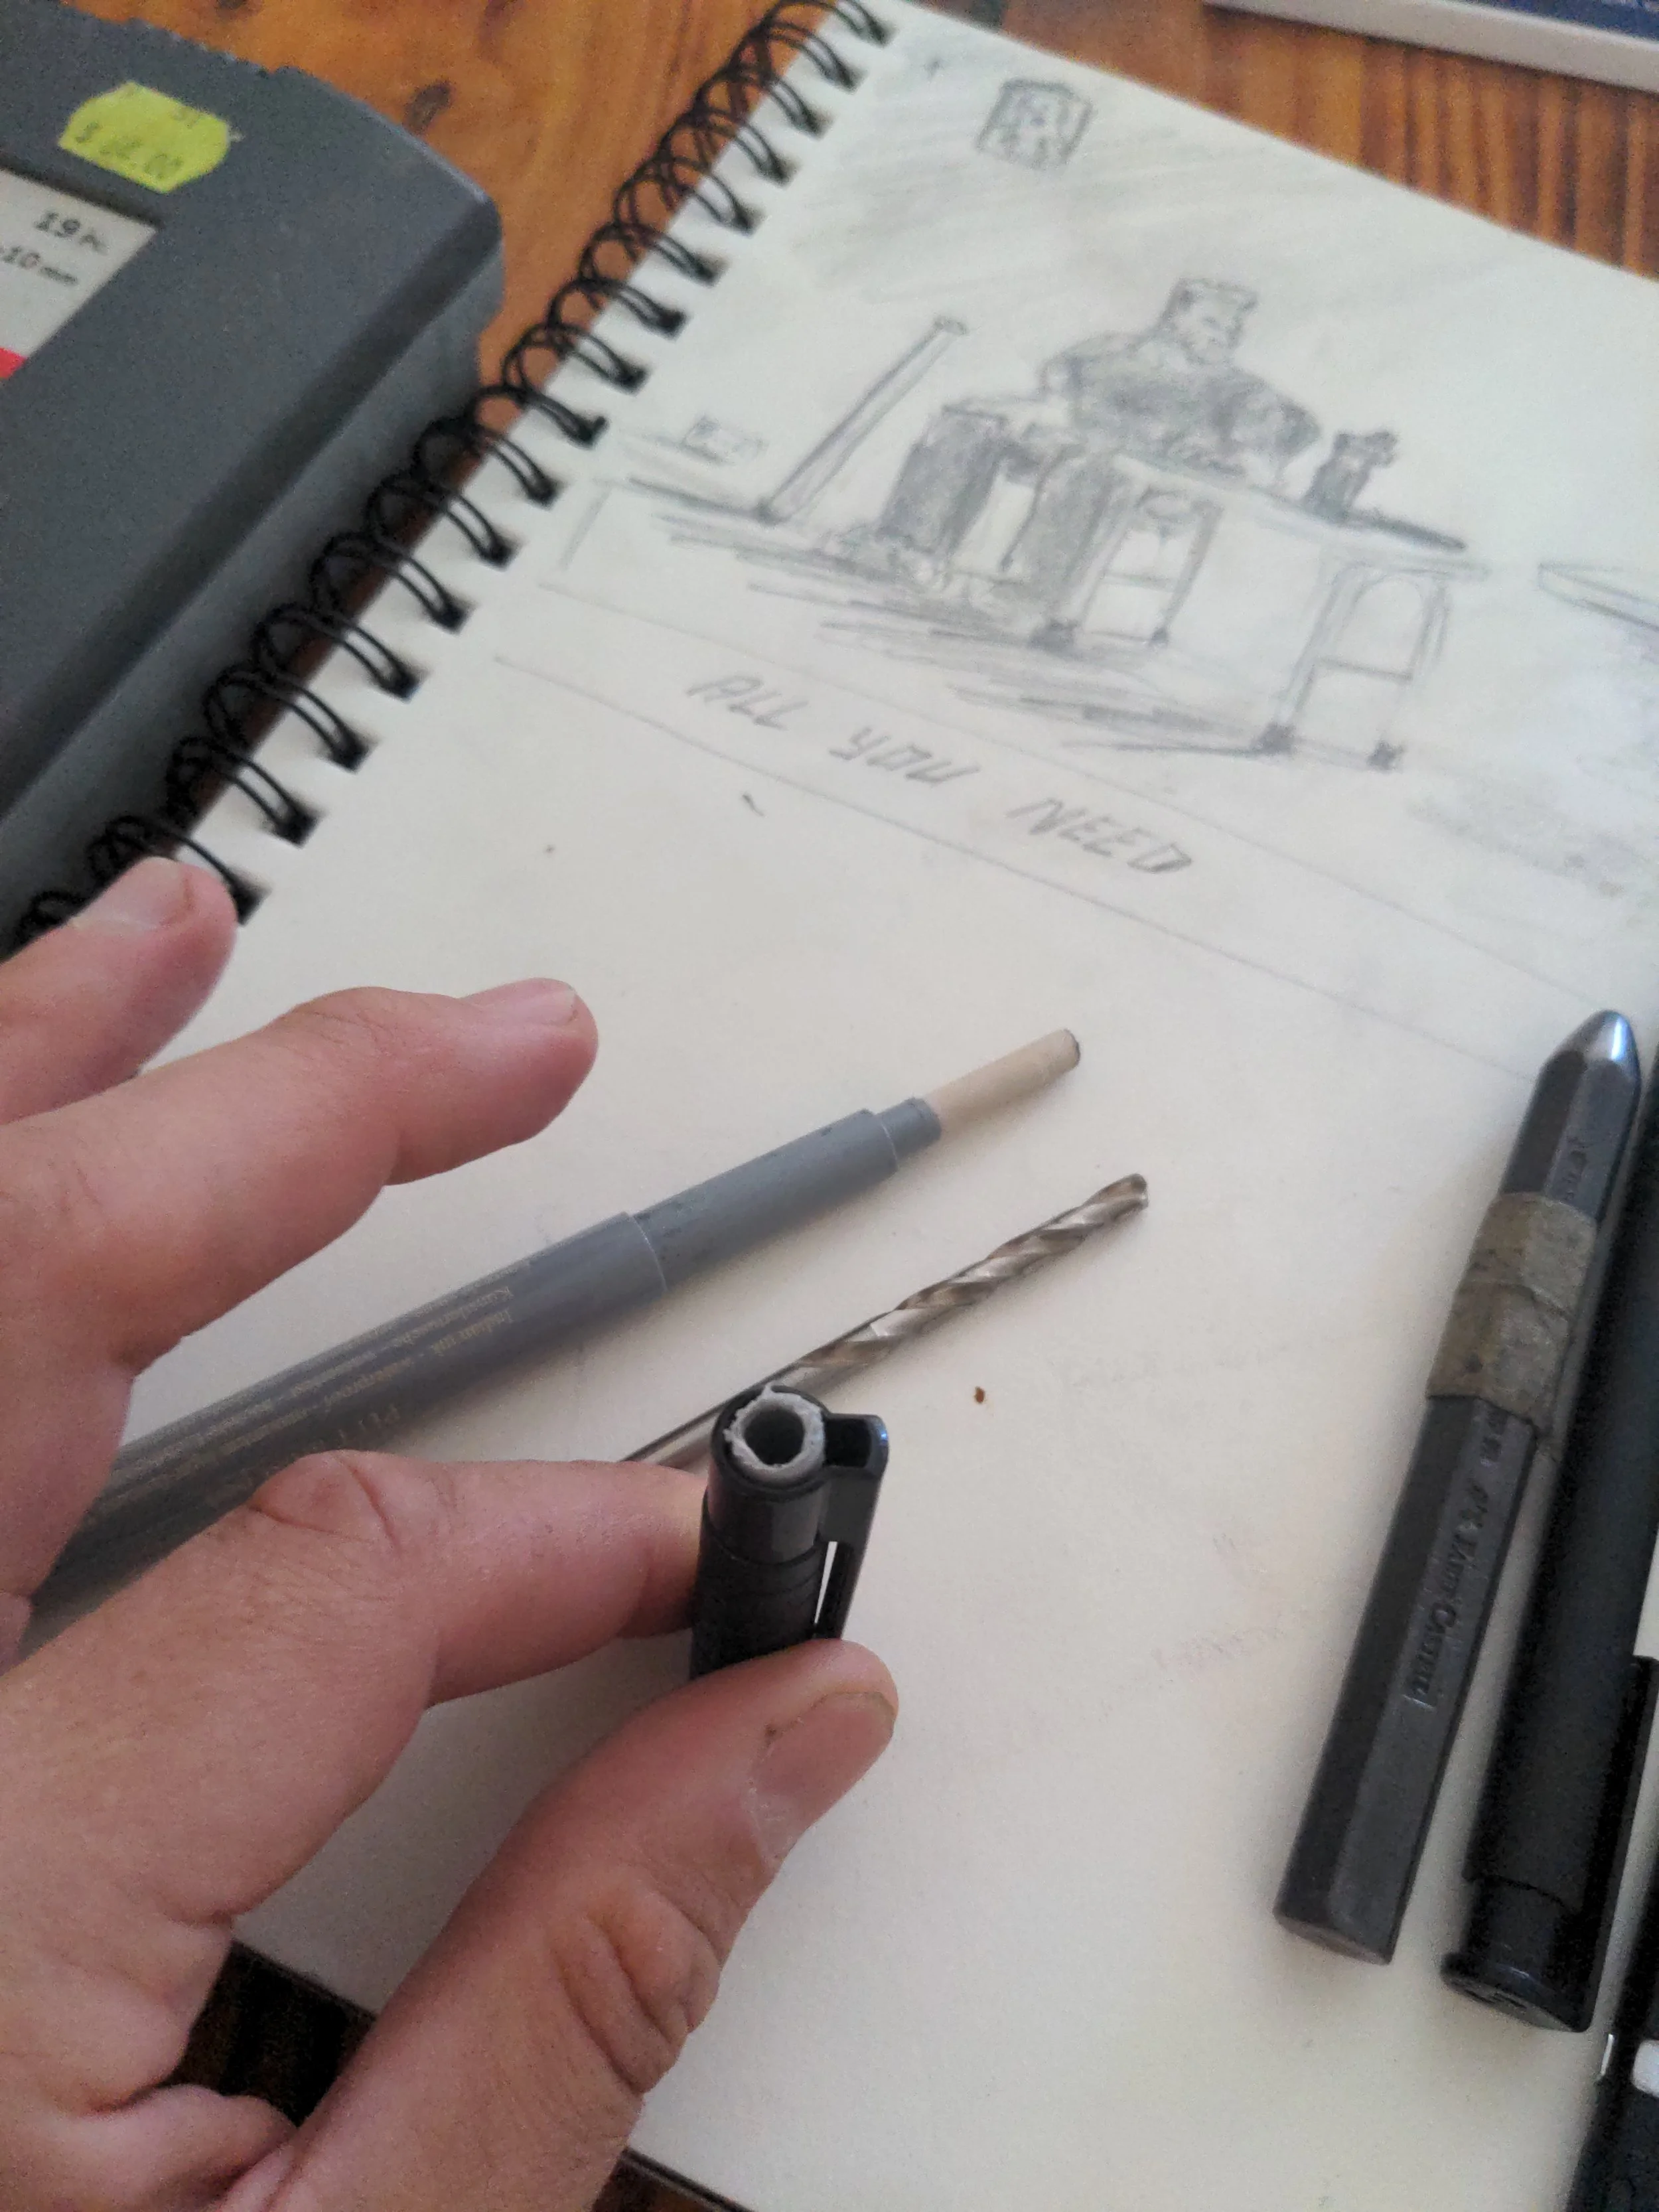
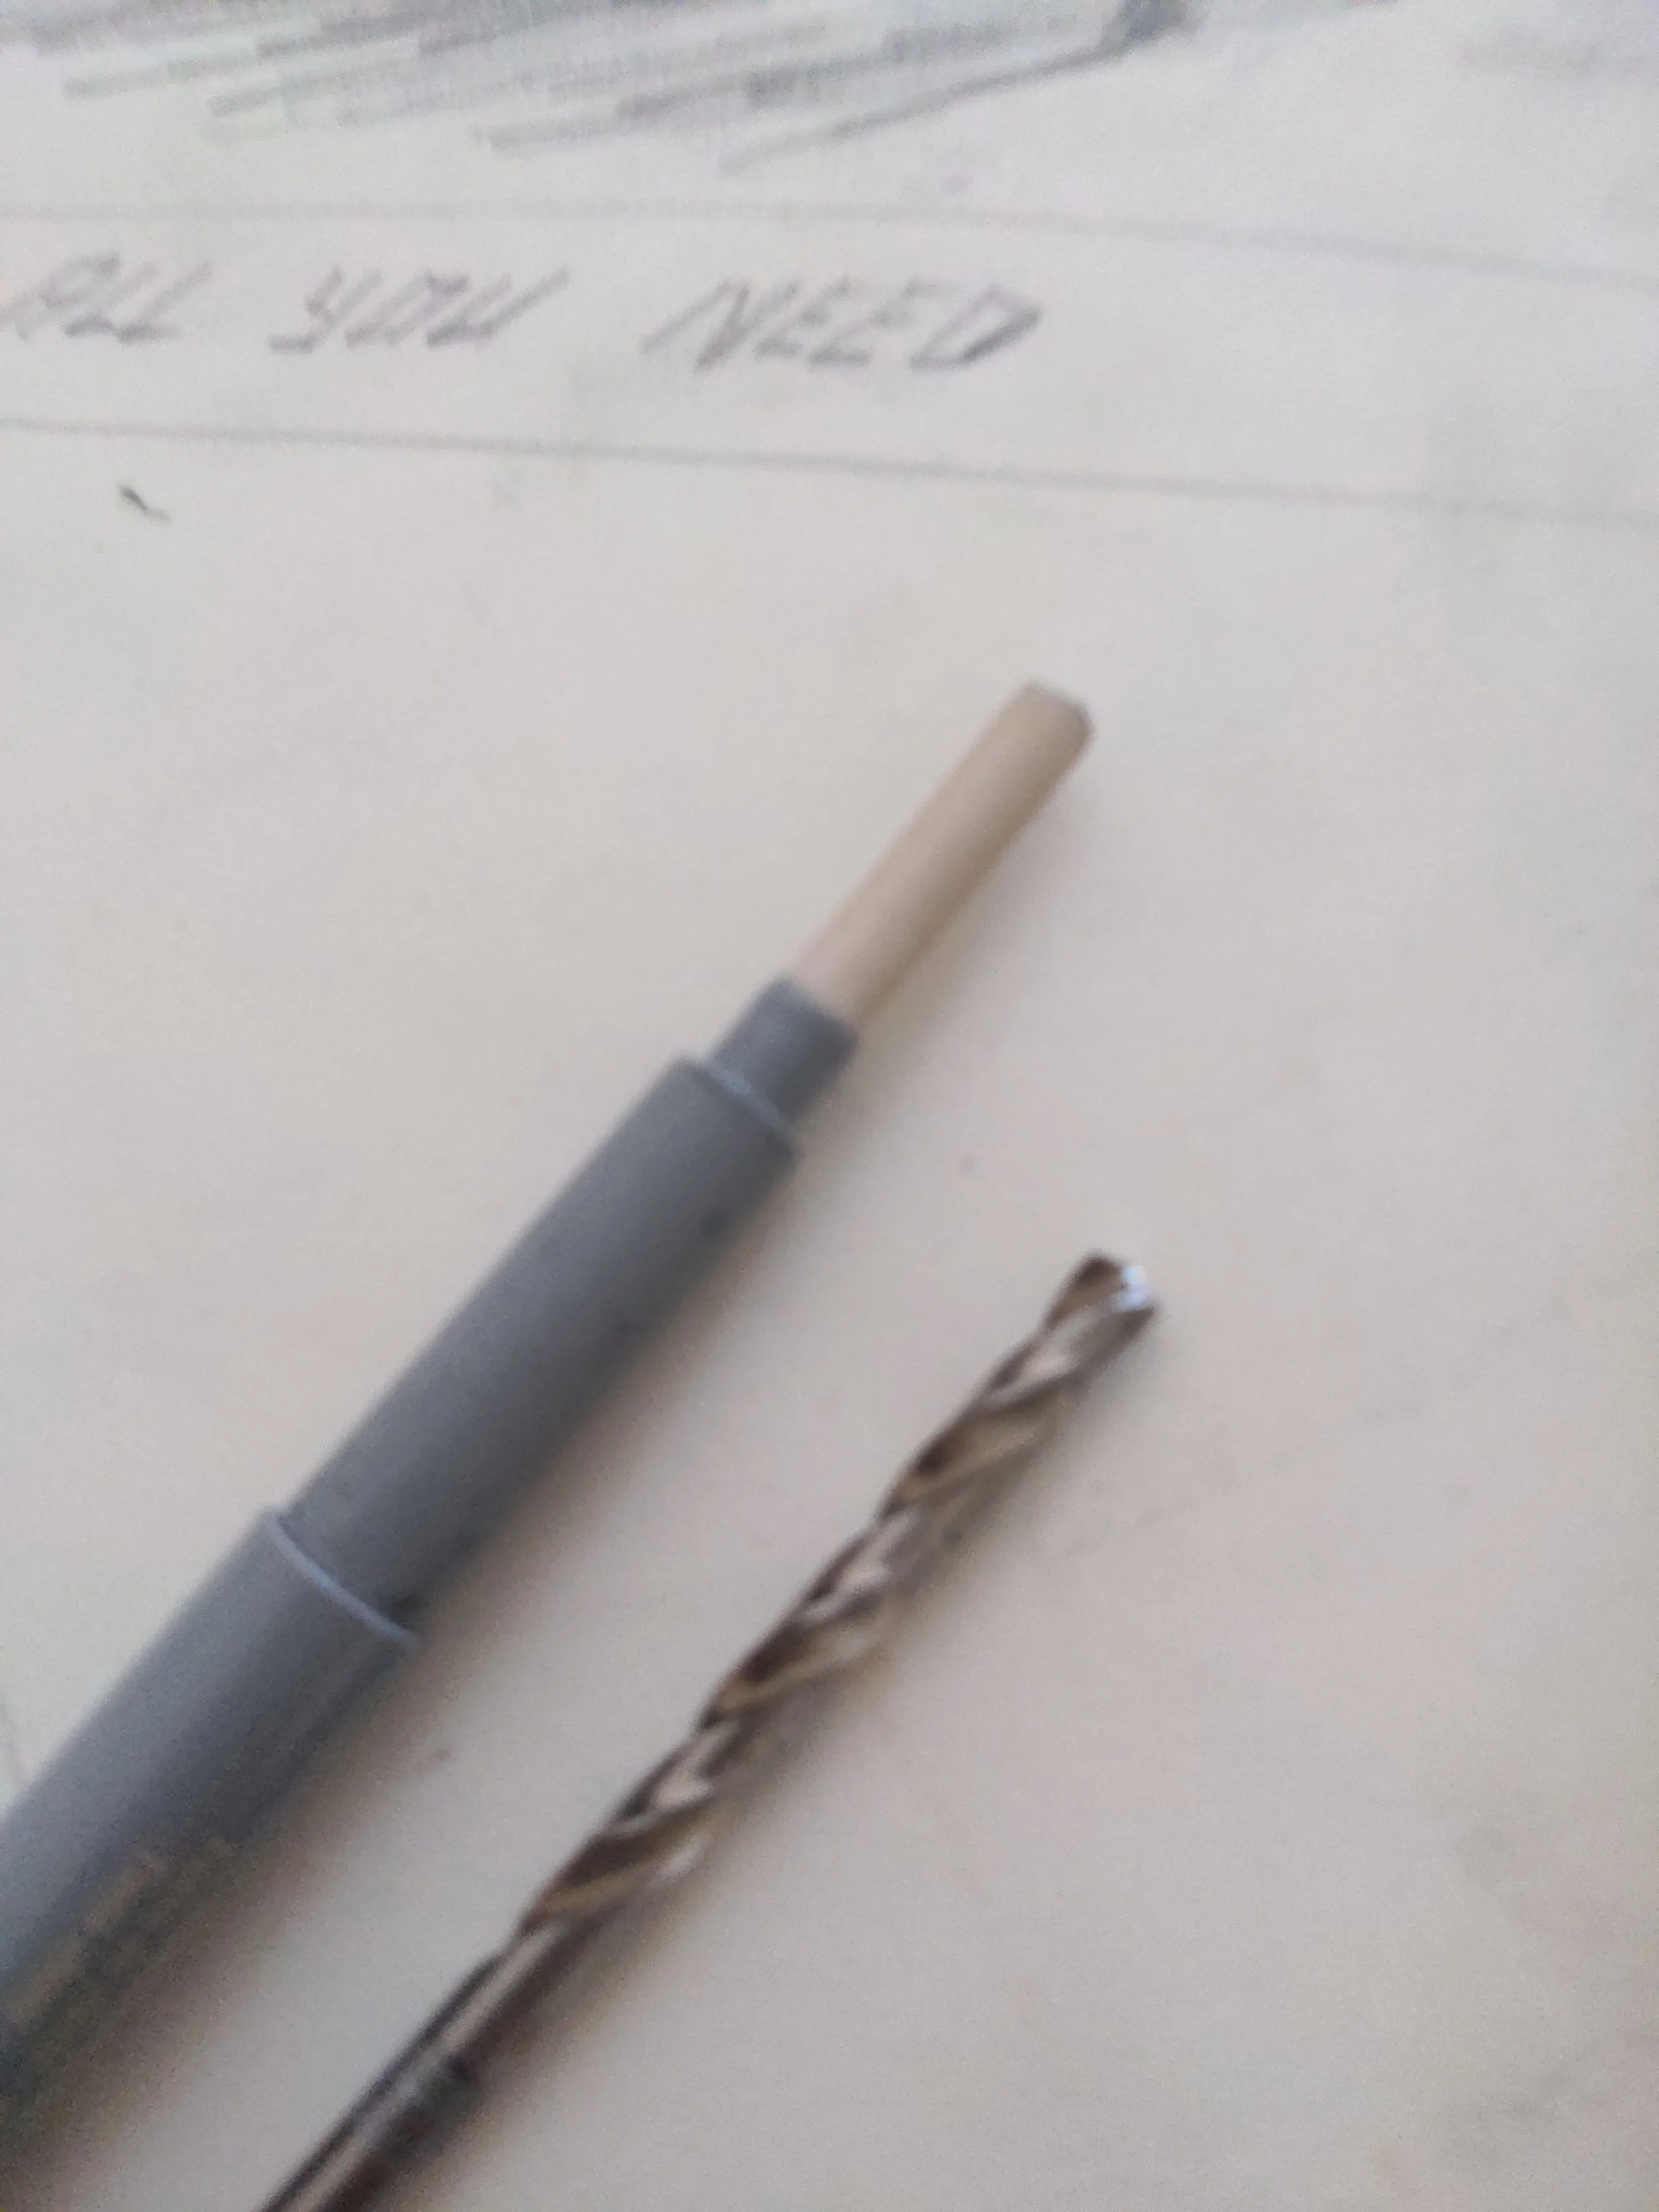
Having cut the excess end off, i then used a drill bit twirled between my fingers (I would avoid using an electric drill for this) to expand the barrel hole back until the eraser tube fit perfectly and snugly in. The grip was solid and reliable! On top of that, the remnant dried-ink cartridge inside the barrel found a new use as rear support to stop the refill nib from getting pushed into the recess of the barrel. However the tip was too long to be sturdy and bent and wobbled easily. So I used the same drill bit to make a hole in the faber-castell marker cap and put that over the body of the marker. Now the eraser has a sturdier hold.
I gave it a go and it works a beaut. Problem solved!
Think of at-home workarounds from the tools you already have before you go blowing money at the artshop for more plastic crap.
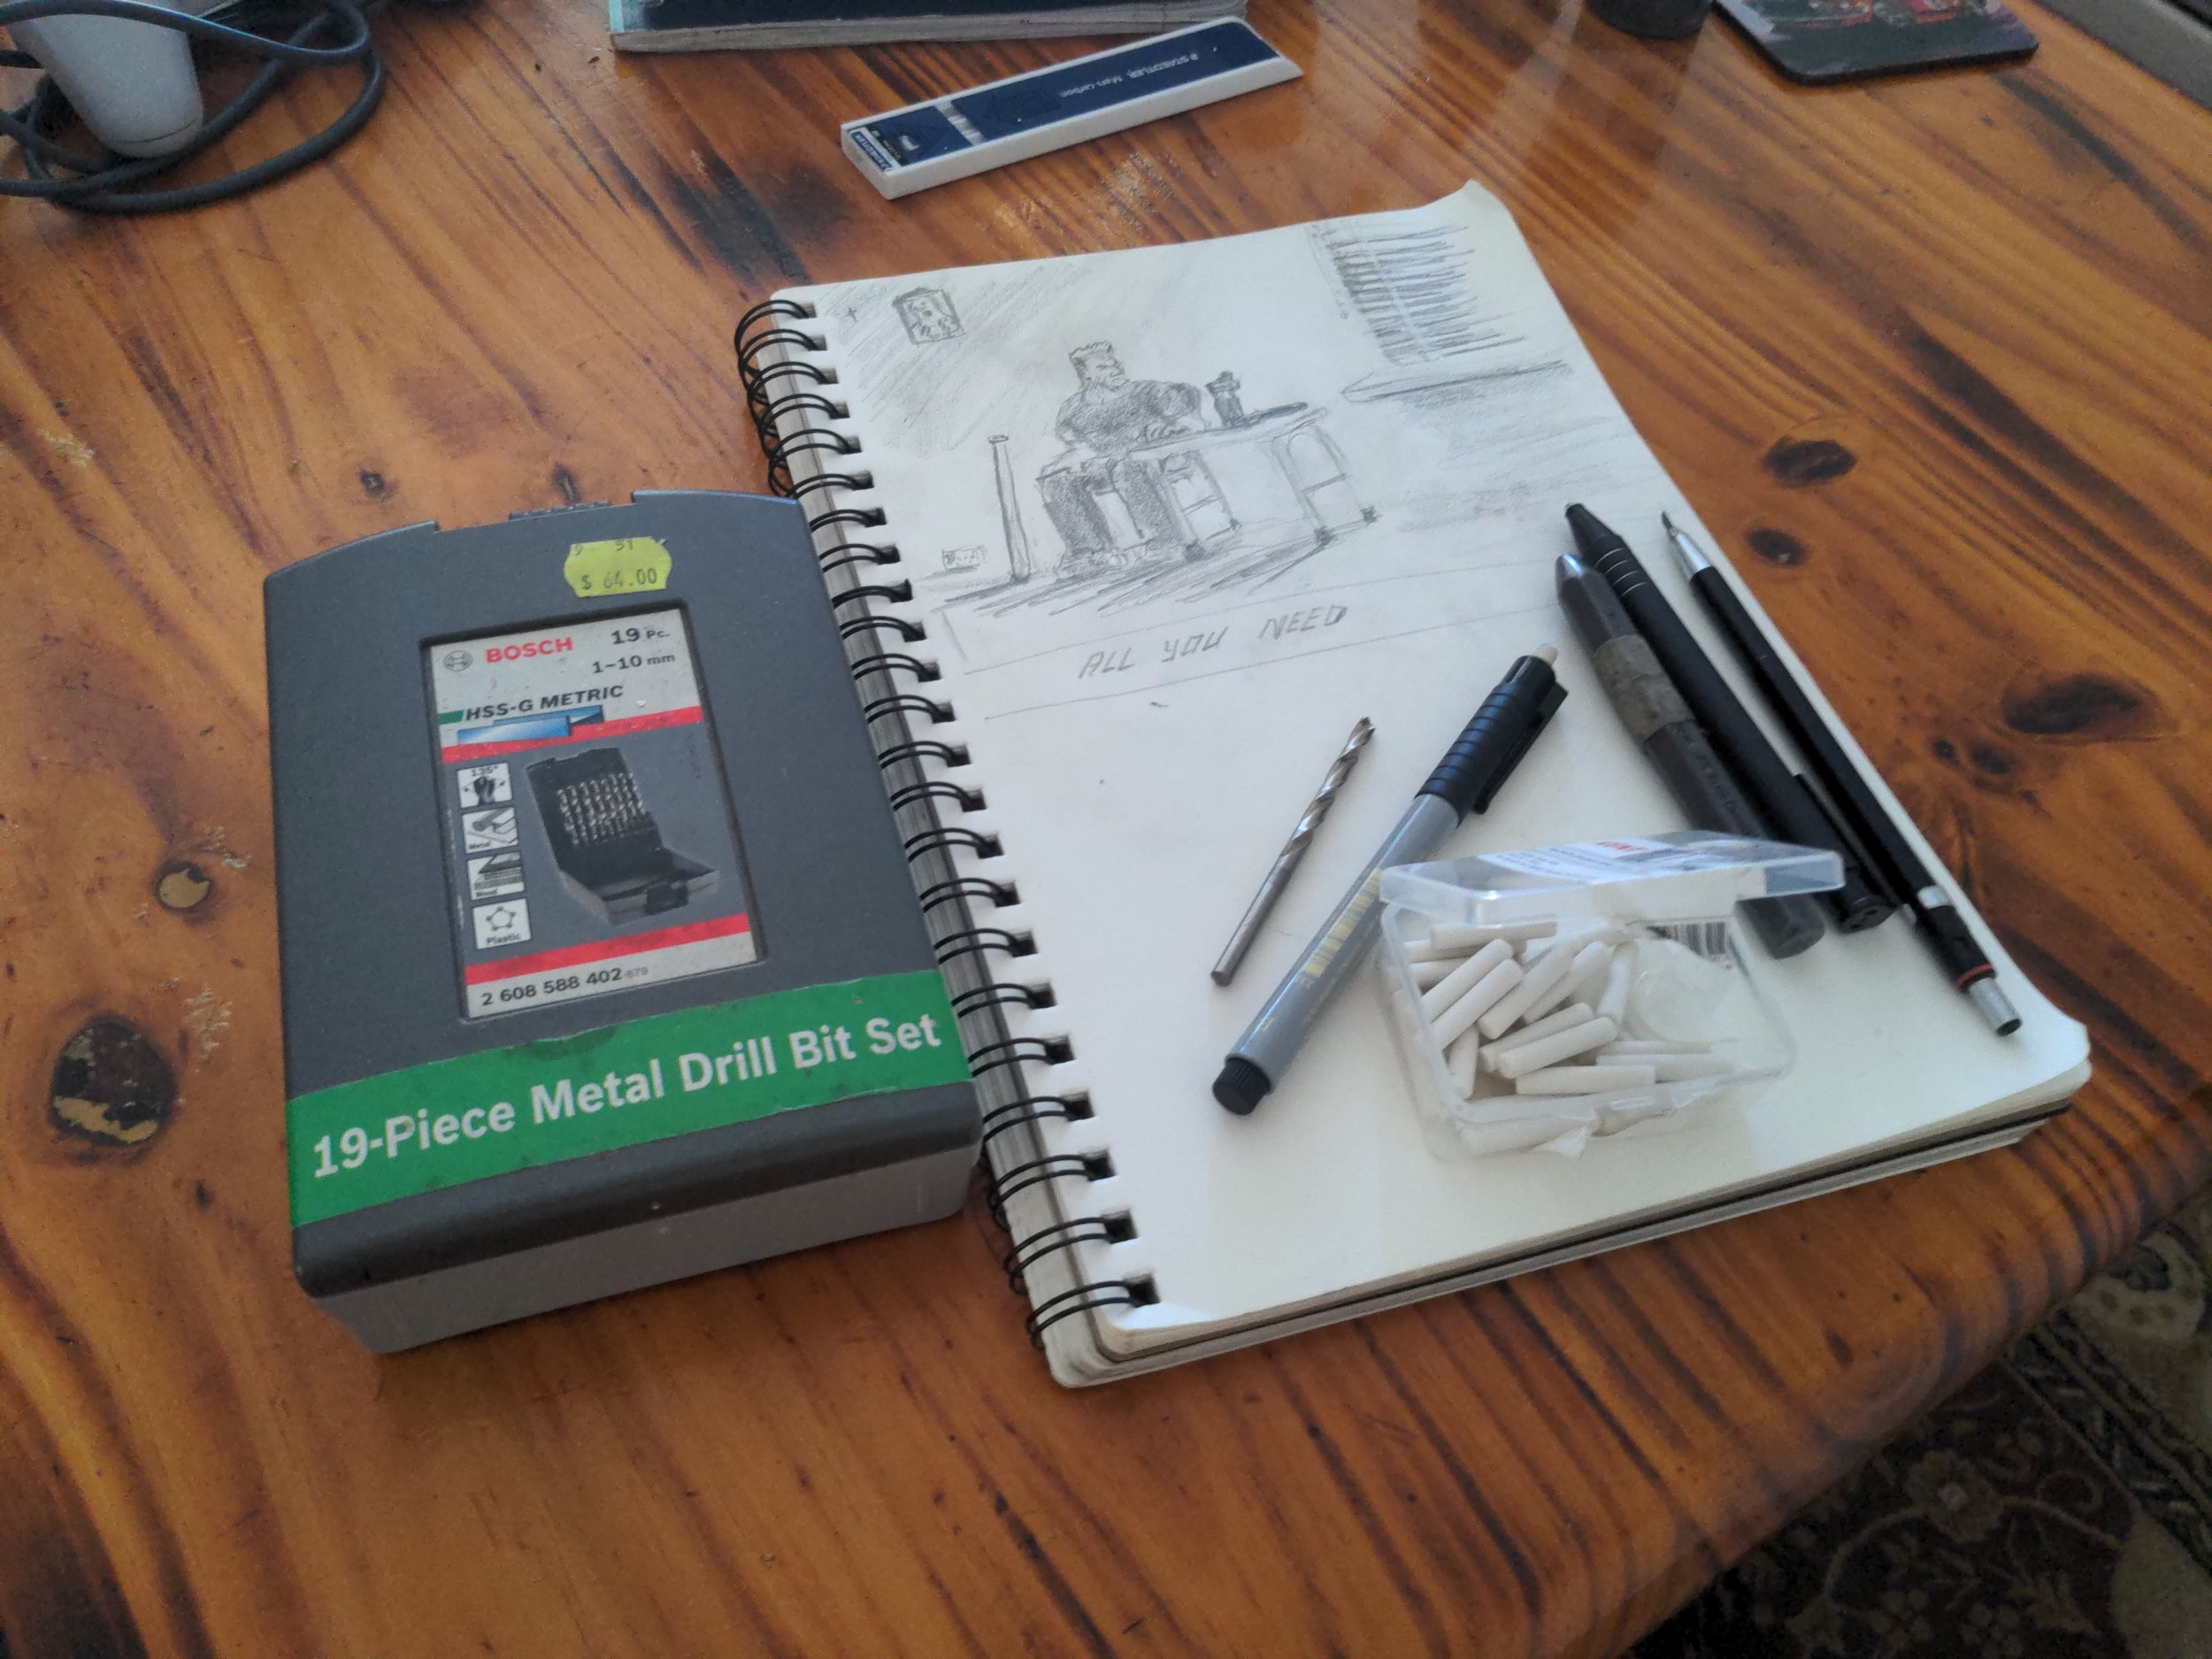
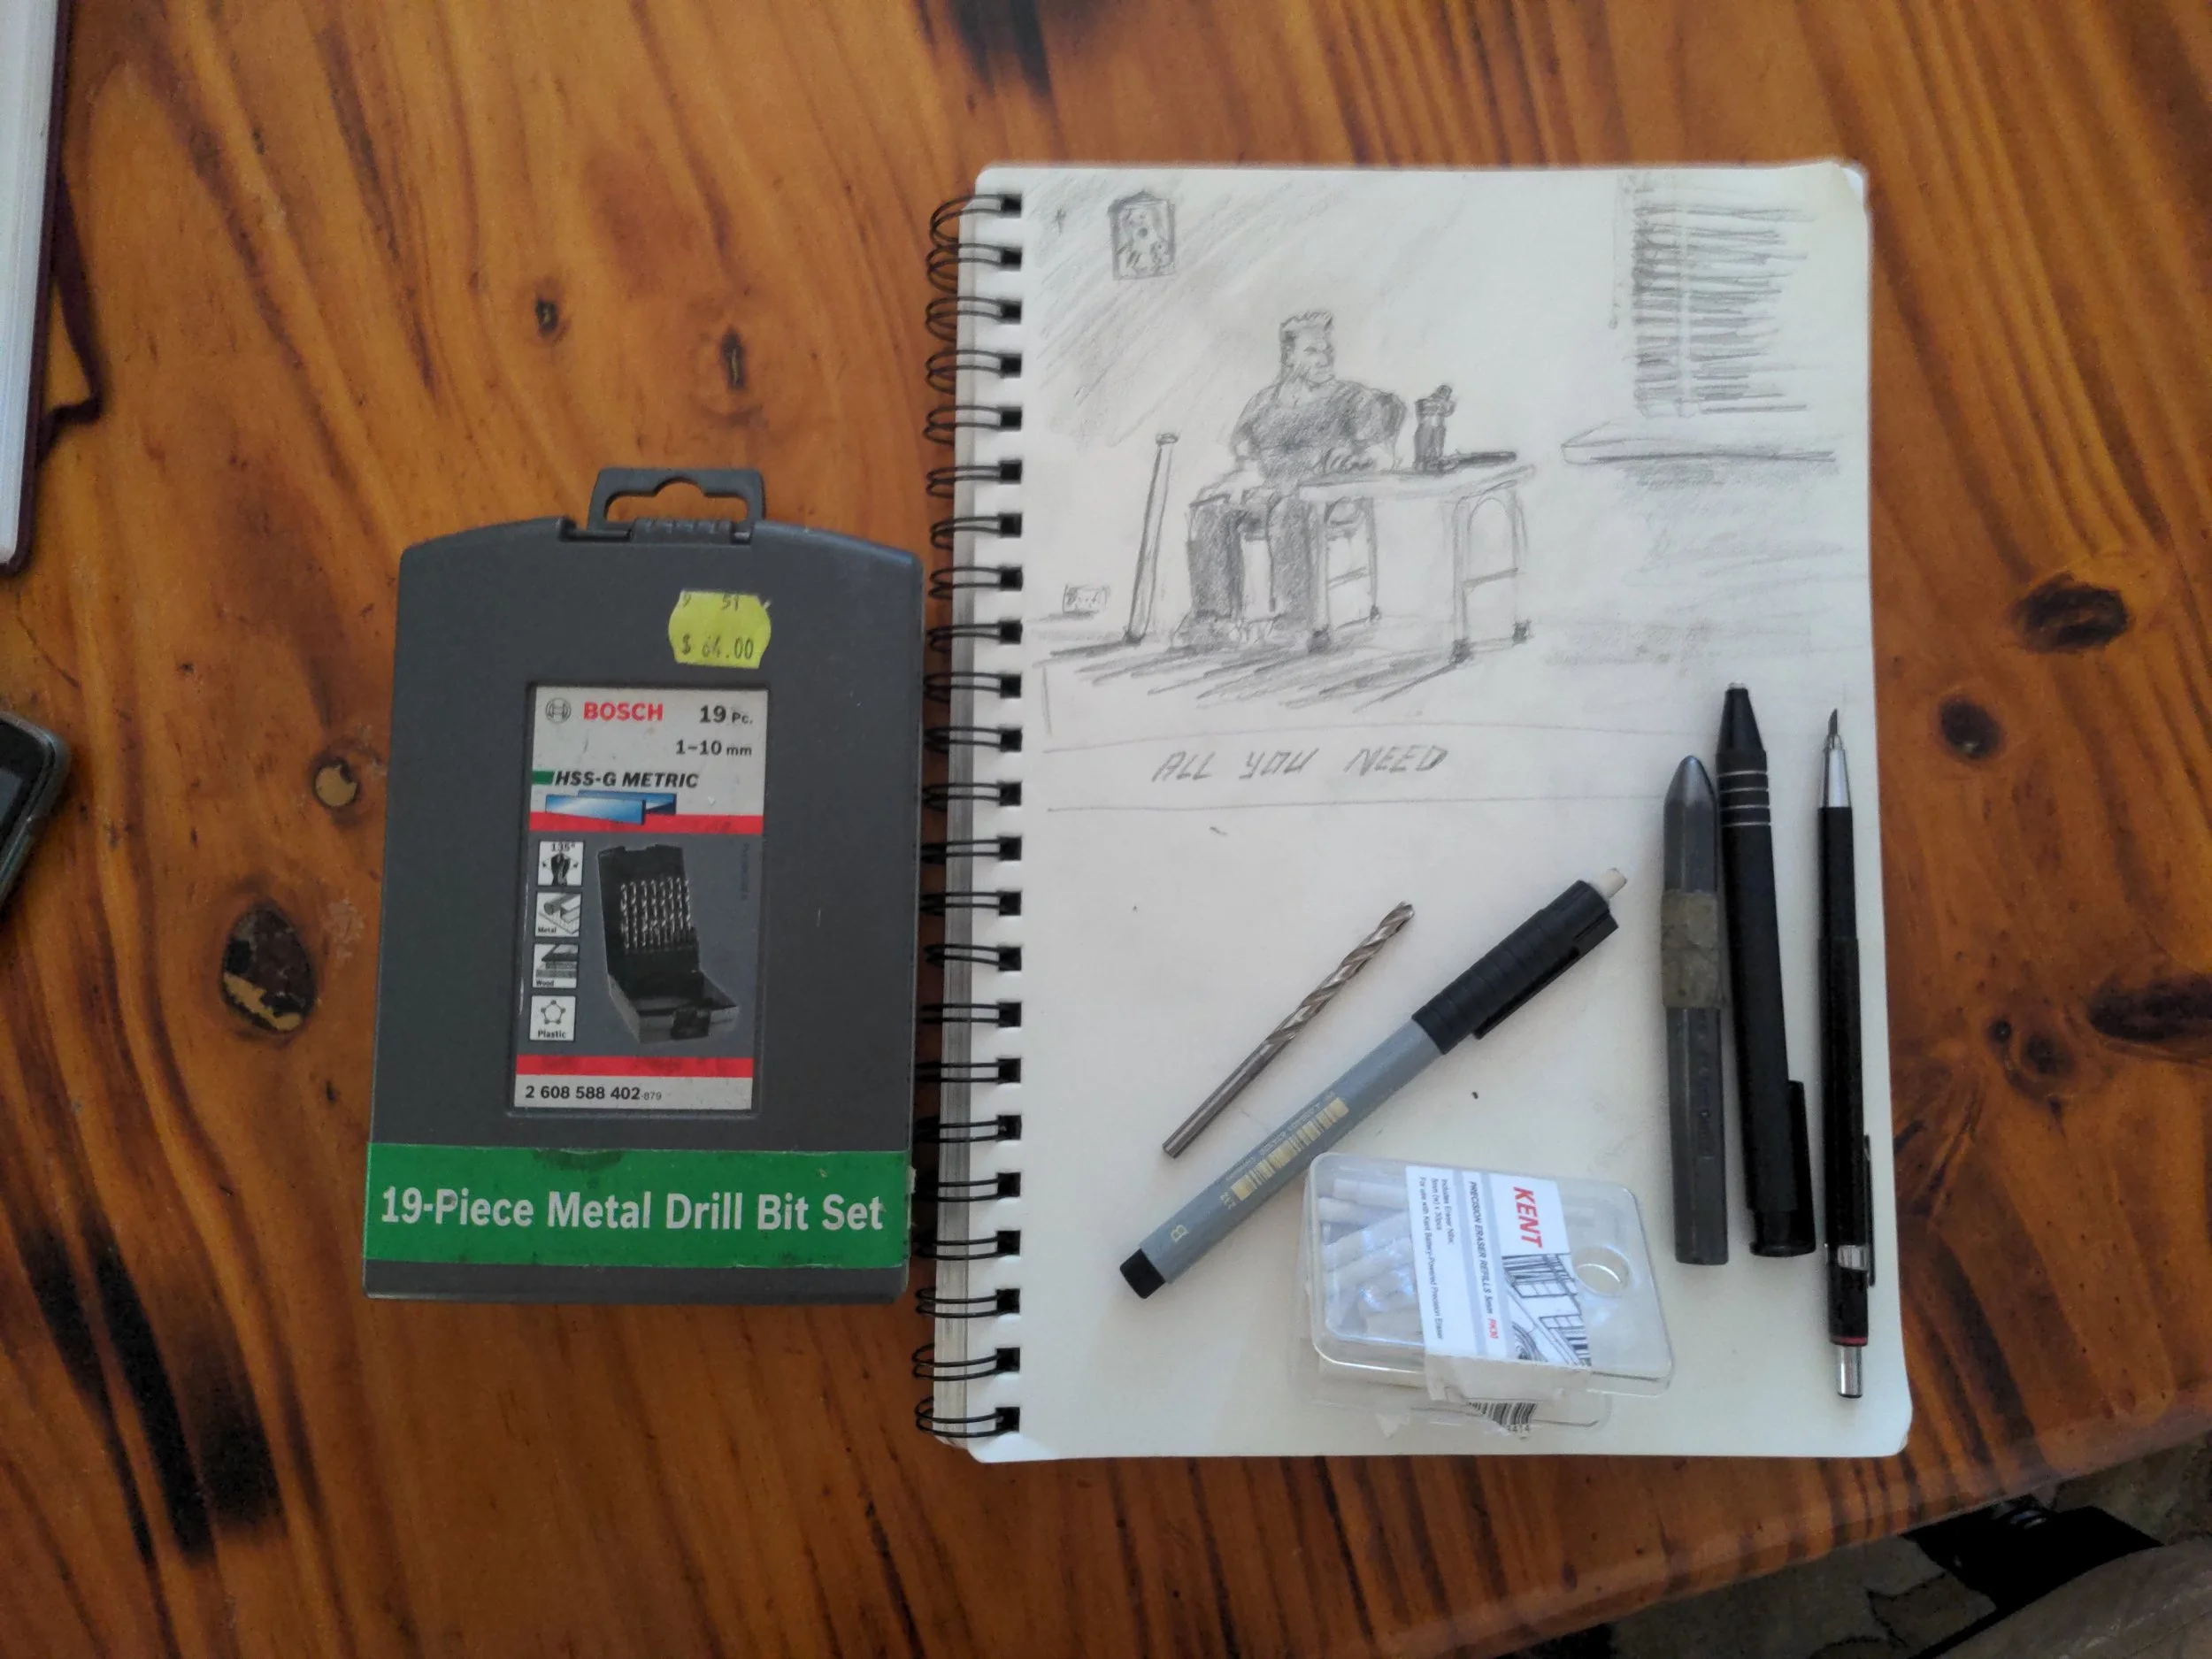
The kit.
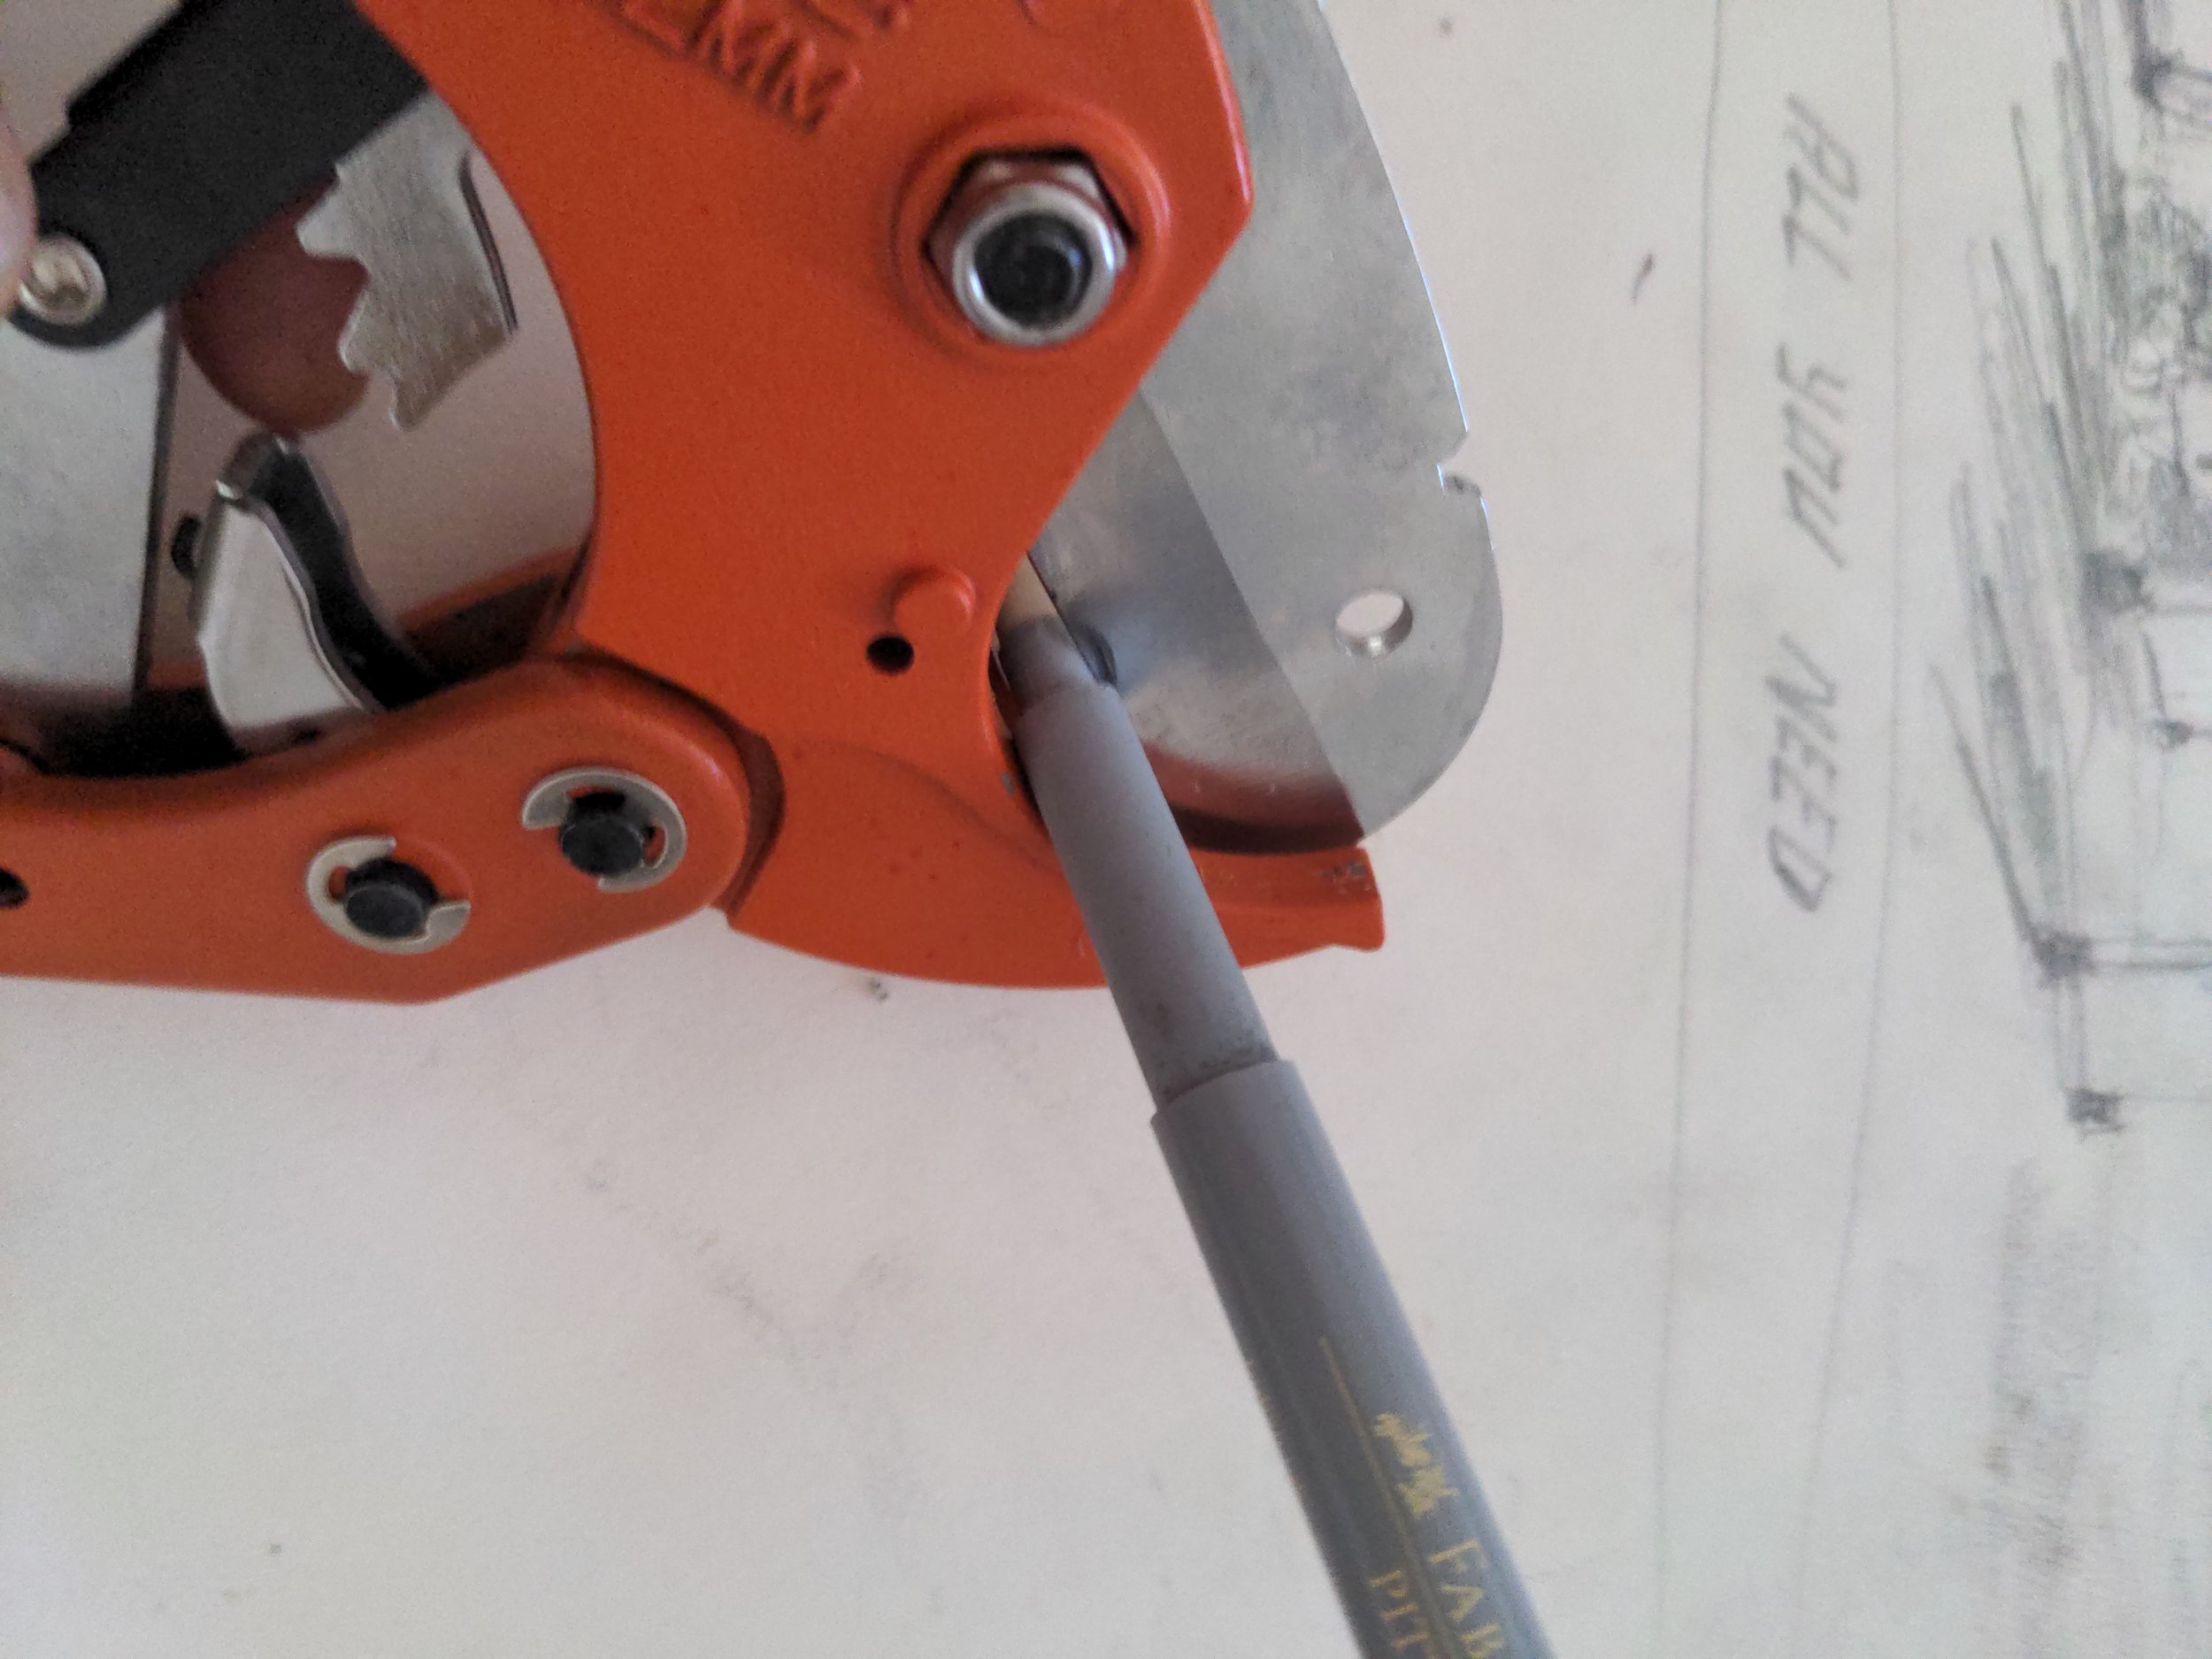
A pipe cutter is ideal for cutting pipe-shaped plastic, but you could easily use a saw or scissors. Though the cut might be a bit rough.
Drilling into the pen lid. You can make this hole and extend the barrel hole by simply twirling the drill bit with your hands. An electrical drill is not required, nor recommended as the more spasticated among you might drill into your hands or dislocate your arm or something.
Et Voila. Le completed specimen up close. Sensational. Magnufique. Good as gold. You bloody ripper.
Bloody ey! It was really that easy! Mamma Mia!
Watch out for tool thieves. And don’t be a tool thief yourself…. Or else…